
A FEE question is a Find the Easter Egg type of learning experience. Find the Easter Egg questions are great for letting students point out attention points, safety hazards, picking the right tools for the job, etc. To create a FEE question, go to the Courses page and press the ‘Create new question’-button. A form will appear to create any type of linear question, select the “Find the Easter Egg” type.
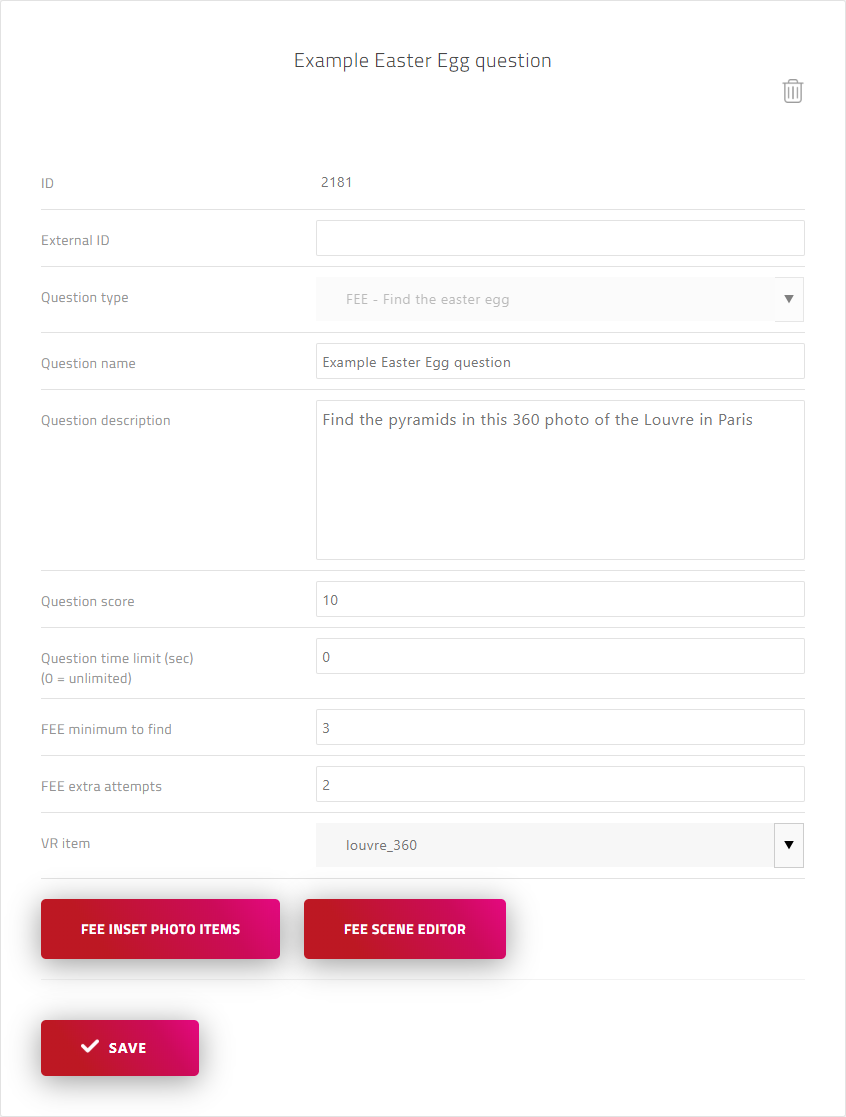
Provide a name for the question and a description. This name is later also used when assigning questions to a linear course. An optional external ID can be added in case this question relates to data kept in an external database.
The question score is the amount of points to be added to the total score if the student has the question correct. A time limit in seconds can be set to give the student a limited time to find the Easter Eggs. If the limit is kept at 0 the time will stay unlimited. The ‘minimum to find’ is when there are multiple Easter Eggs to find, but e.g. 2 out of 3 would be sufficient to pass the question correctly. The ‘extra attempts’ allows students to have several attempts to missclick, when they click somewhere in the scene but not on any hidden Easter Egg this will count as a missclick.
A VR item (the background 360 environment) can be selected. These have to be priory uploaded via the ‘VR Content’ page.
Inside the scene one can add Easter Eggs as a circle or as a custom shape. These shapes are initially visible in the editor to be able to position them in the scene, but in the app they are hidden, clickable shapes. As ‘find the Easter Egg’ implies, a student has to find these shapes in the scene and click on them. Once clicked, the assigned in-set photo will show as a visual cue that the Easter Egg was found. A scene can be filled with several Easter Eggs.
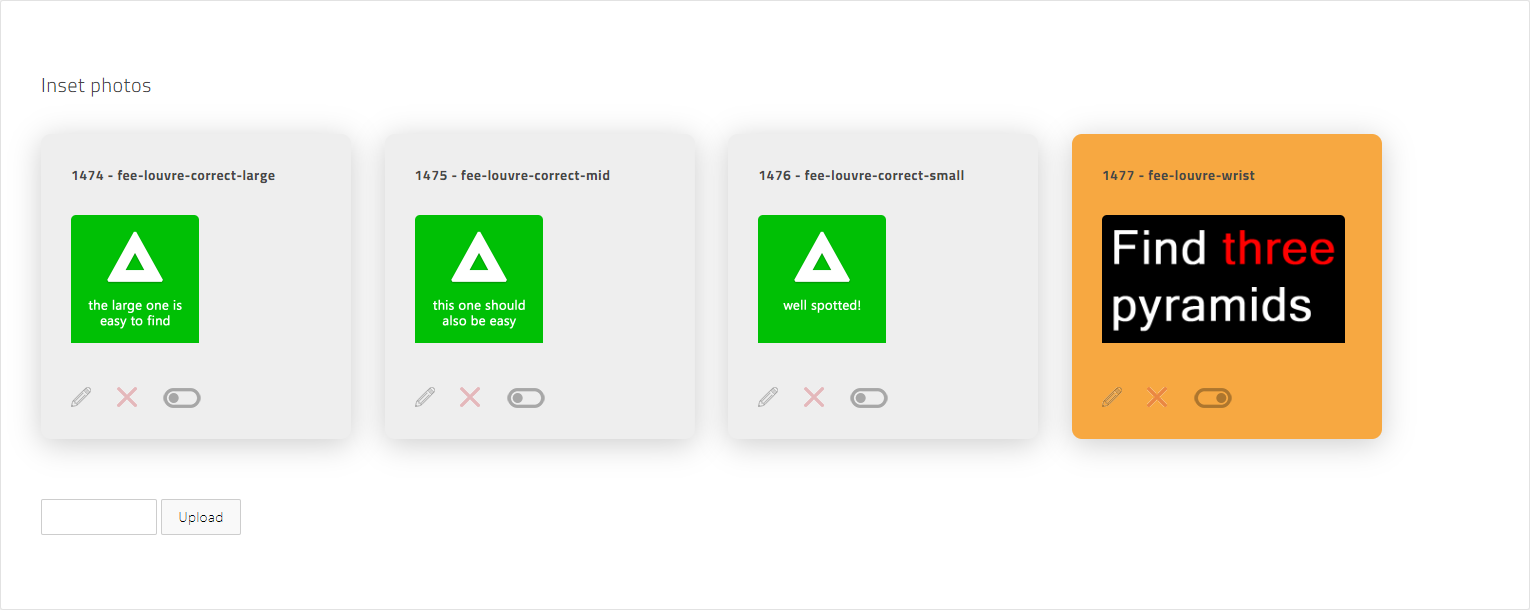
The in-set photos are shown after the student clicked in the right area (as in, on the circle or custom shape) and can be designed as a photo, an outline, a picture, a text or a combination. For example a ‘correct’-icon or a photo with some additional information as text.
One of the in-set photos can be toggled on as wrist image and will then appear with an orange container. This is an image that floats above the in-app controller. The wrist image can be used to provide e.g. extra instructions to the student regarding what kind of Easter Eggs to find.
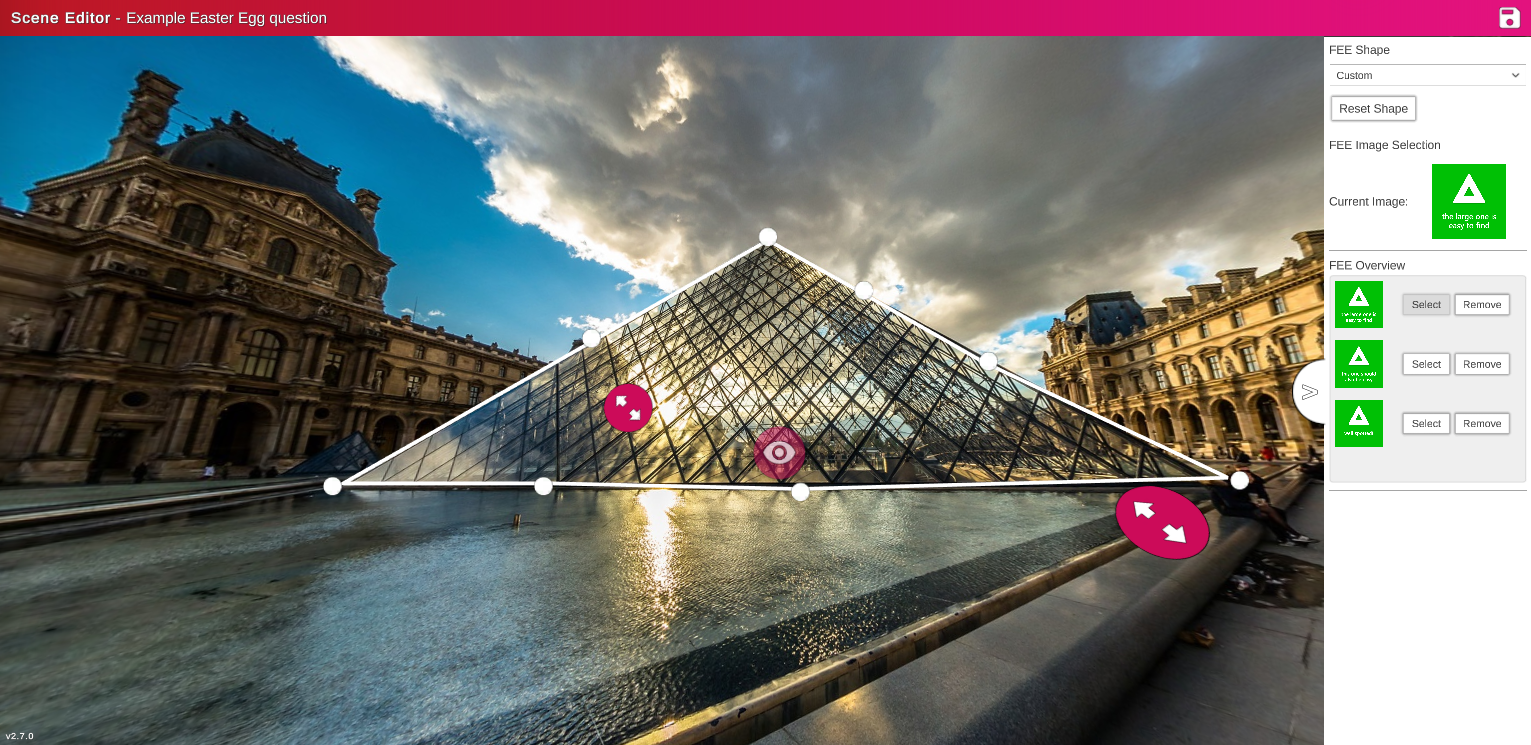
The shapes, as well as the starting point (the eye-icon) can be positioned in the scene by pressing on the ‘FEE Scene Editor’-button. This will open the scene editor and on the right, the shapes can be added by selecting an in-set photo and press the ‘set’-button next to it. By default the shape is a circle but at the top of this side bar, one can choose whether the shape is a circle or a custom shape. The custom shape starts as a rectangle but the big dots can be re-positioned to create a custom shape. The custom shape is excellent for tracing an object or a surface. E.g. a traffic sign, a computer screen, a banana peel on the floor or a glass pyramid.
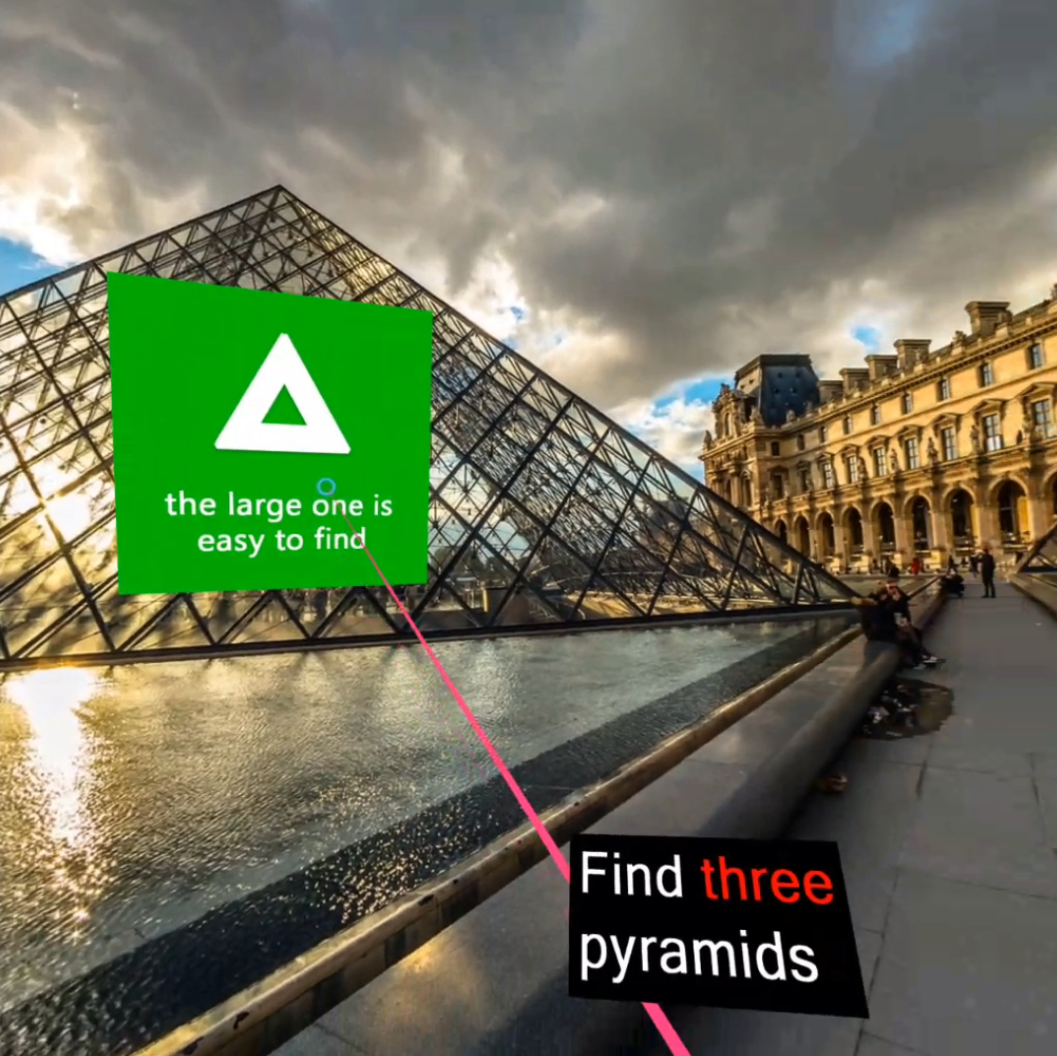
And this is how it will look inside the app after the student clicked on the Easter Egg and the in-set photo pops up.
Note: due to continuous development, the ‘Questions’ page as seen in the video can be found as a button on the linear course page instead of the side menu.
